
What to consider before choosing a camera
When you film at home, you can choose where to put the camera and lights. You can also ask everyone to stay in the same place. Outside or at an event, you usually have less control over the conditions.
A broadcast may continue after sunset. A presenter may turn the camera towards a street performance and then back towards a guest. Another person may join an interview when there is little space to move the camera. These are ordinary situations, but each changes what the camera needs to do.
The main questions are straightforward. Will faces remain clearly visible in low light? Can the camera keep a moving person in focus? Can the lens fit two people into the picture at a short distance? You also need to consider sound, camera support and the connection used to transmit the video.
The three fictional examples below explain these requirements. They show how camera features and accessories can help, as well as the adjustments you may need to make yourself.
Case 1: Streaming after dark
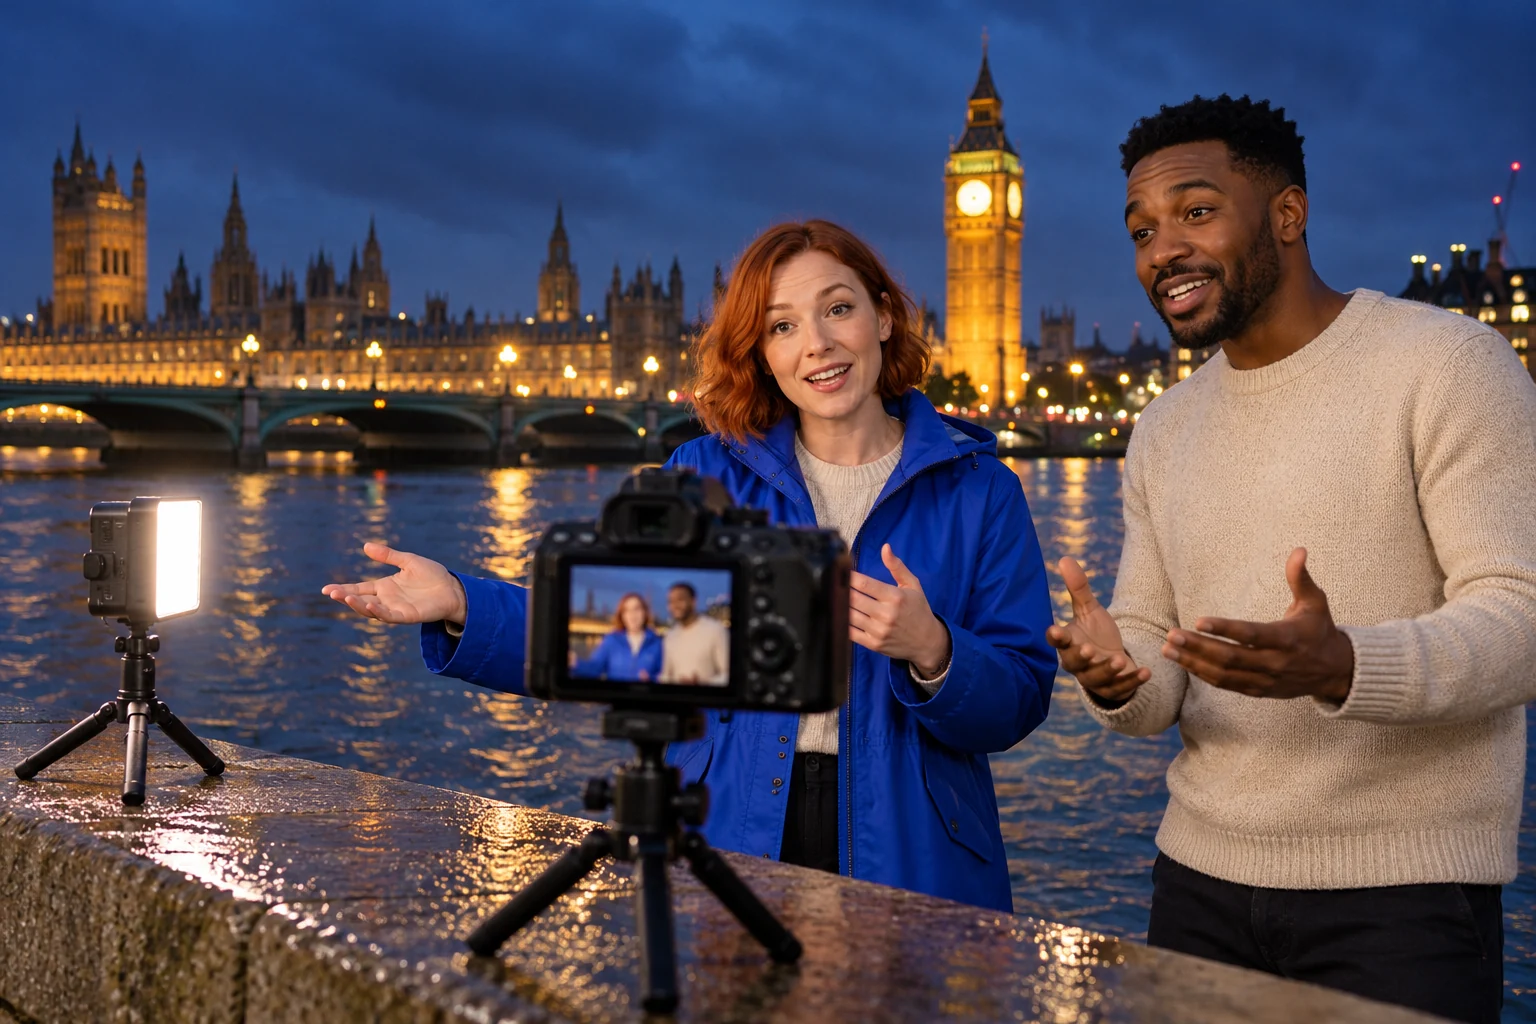
Two presenters begin a live broadcast beside a river before sunset. They answer questions from viewers, and the broadcast continues until it is dark. The buildings behind them are lit, but there is little light on their faces. Viewers can see the background more clearly than the presenters. The broadcast becomes chaotic if both presenters interrupt the conversation to adjust the camera and move the light at the same time. Viewers see a dark or moving picture while the presenters try to correct it.
The first step is to check the camera screen. A scene that looks bright enough to your eyes may look darker in the video. Increasing the camera’s light sensitivity, usually labelled ISO, can make the image brighter. However, a high setting may also make the picture look grainy. Using a much slower shutter speed can brighten the image too, but moving faces and hands may become blurred.
For regular evening broadcasts, the lens is an important part of the choice. A lens with a wider maximum aperture lets more light reach the camera’s sensor. The aperture is the opening inside the lens. A camera with interchangeable lenses allows you to choose a suitable lens for low light, rather than use the same lens for every situation.
Additional lighting may still be needed. In this example, the presenters could turn towards a nearby light or place a small video light next to the camera. The light should illuminate their faces without making them uncomfortable. They can then check that the faces are clearly visible and that the buildings remain visible behind them.
If you often broadcast in the evening, test the camera and lens after dark before buying additional equipment. Use the distance and position you expect to use during the broadcast. This will help you decide whether you need a different lens, an extra light or both.
Low light · Lens aperture and an additional light. Check that faces remain clearly visible after sunset.
Case 2: Streaming on a busy street
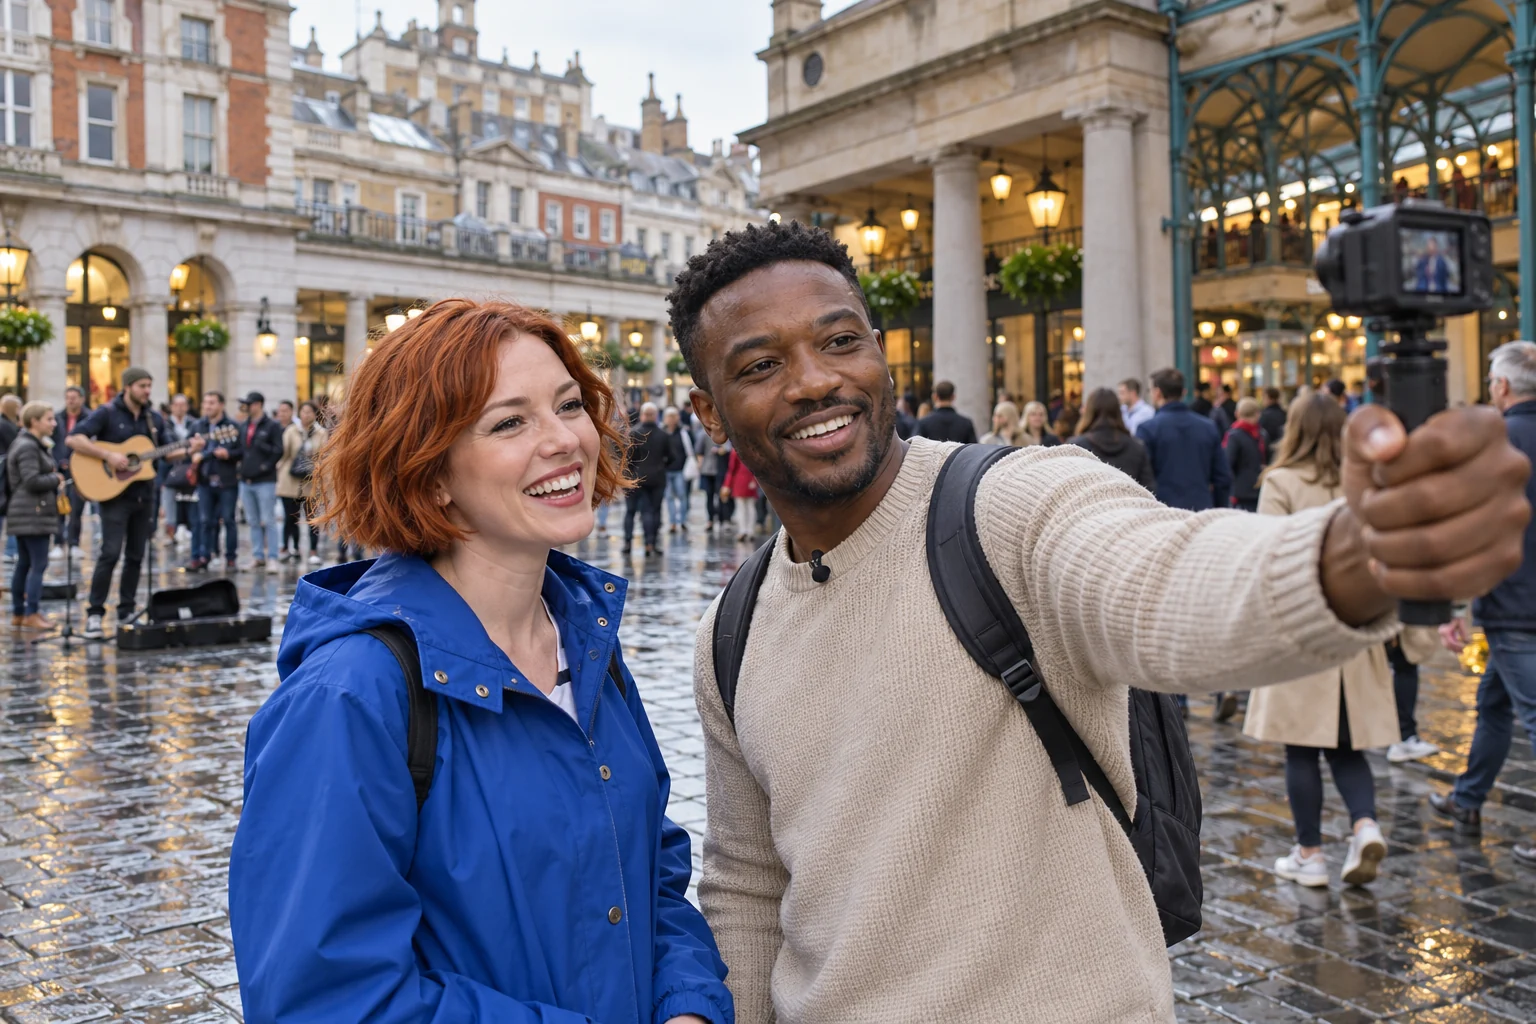
A presenter is filming a walking tour with a companion. They stop to show viewers a street performance, then turn the camera back towards the companion. The performers are several metres away, while the companion is close to the camera. The camera needs to adjust focus when the distance changes. This can make the broadcast look chaotic: the view changes quickly, people cross in front of the lens, and traffic makes the conversation difficult to hear. The presenter needs to keep the main subject clearly visible and both voices audible.
If focus remains on the distant background, the companion’s face will be blurred. Autofocus that detects and tracks people can help keep a presenter in focus as they move. It is also useful to be able to select the person you want to focus on. When several people are visible, the camera may select someone else.
Before a broadcast, practise filming a nearby person, turning towards a distant subject and then returning to the person. Check how the camera responds and how you can correct the focus if necessary. This is more useful for a walking broadcast than comparing resolution alone.
Camera movement affects the result as well. Stabilisation helps reduce small shakes when you hold the camera. A comfortable grip makes it easier to hold securely and turn slowly. For longer walks, a separate motorised stabiliser can help reduce movement caused by your steps. Leave some space around the presenter in the picture so a small movement does not immediately take them out of view.
Street noise needs separate attention. A microphone next to the camera may record traffic or music more loudly than speech. A compatible clip-on microphone placed near the speaker’s mouth, with suitable wind protection, can make their voice easier to hear. If both people will speak, the microphone arrangement needs to cover both of them.
For street broadcasts, consider autofocus, stabilisation, weight and microphone compatibility together. Also check the internet connection at the location. A clear camera image cannot prevent interruptions caused by a poor connection.
Movement · Autofocus, stabilisation and sound. Keep the presenter in focus and make both voices easy to hear.
Case 3: Filming in a TV studio
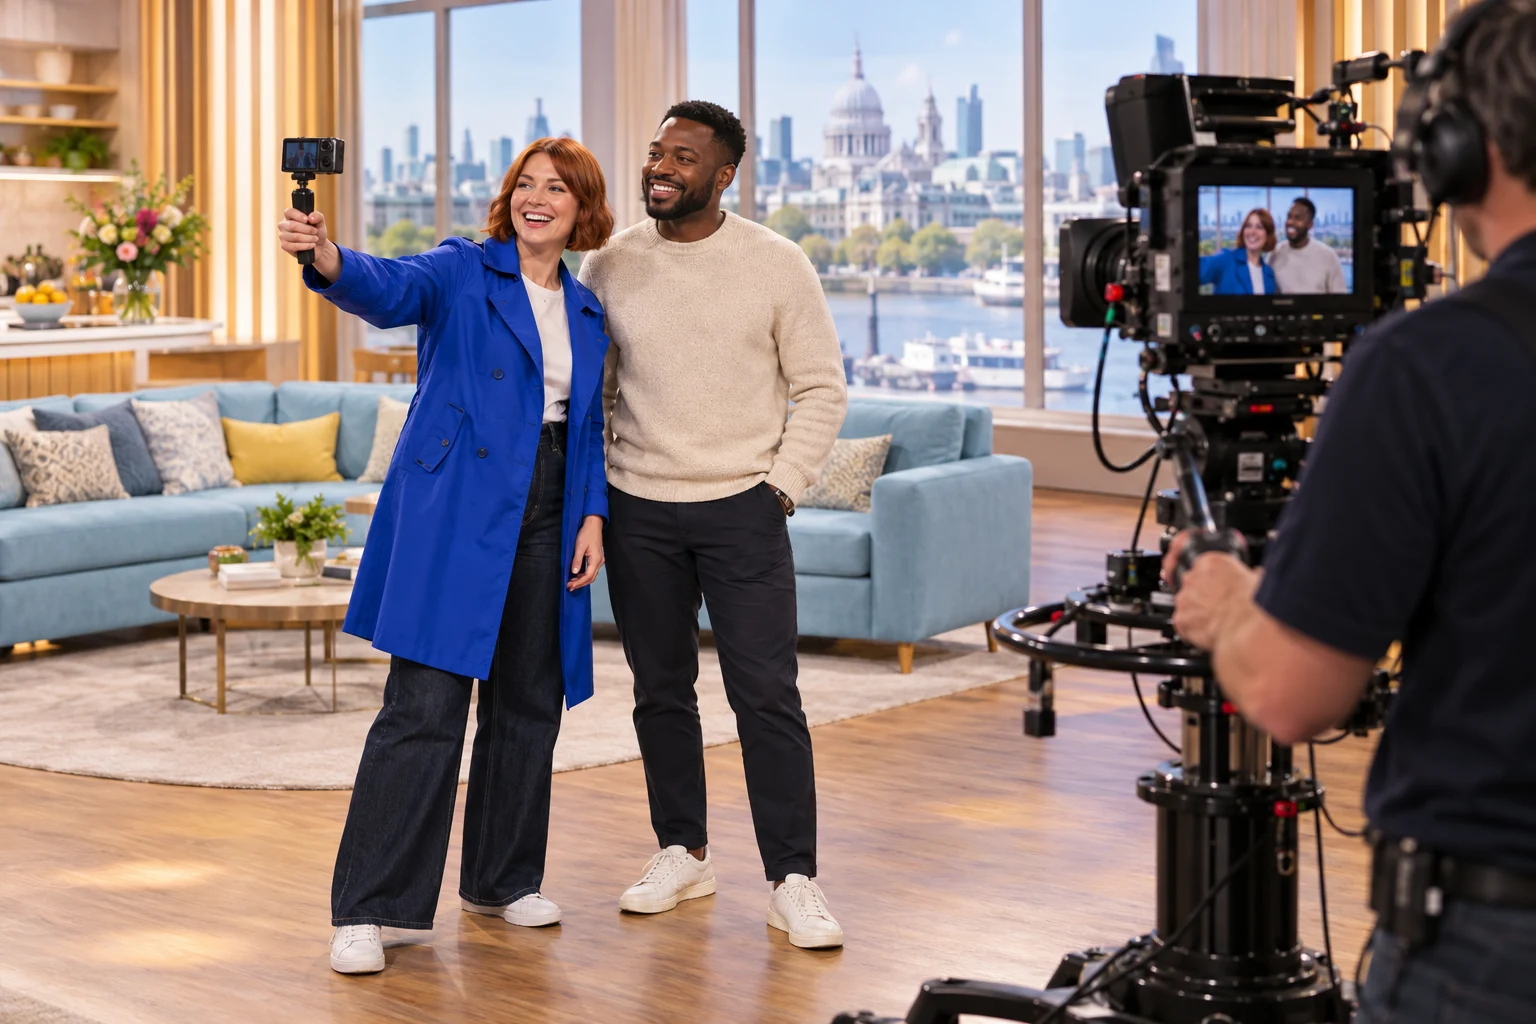
A presenter has been invited onto a television programme. Before the recording begins, they start a short broadcast for their own followers. The camera is positioned for one person. Another guest then joins the conversation, and both people need to be visible. The picture can become chaotic if the presenter moves the camera, the guest tries to find a place to stand, and crew members pass behind them at the same time. A wider view and a fixed camera position help keep both speakers visible.
There may be little room to move backwards because the studio crew and other cameras are nearby. A lens with a wide angle of view can fit more of the scene into the picture from the same position. If it is a zoom lens, the presenter can adjust how much is visible without changing lenses. Check the lens’s widest setting at the distance you expect to use.
A screen that can turn towards the presenters is useful when there is no separate camera operator. Both people can see whether their heads and shoulders are fully visible. They can also check whether they are blocking anything they want to show in the studio.
Try to keep the two people at a similar distance from the camera. If one stands much closer than the other, it can be harder to keep both faces in focus, particularly with settings that strongly blur the background. For an interview, both people should remain clearly visible as they speak.
A tripod holds the camera in position so the presenter does not have to hold it throughout the conversation. Check the lighting on both faces: studio lights may be directed towards another part of the set. Check the sound before starting, too. Equipment that works for one speaker may need adjustment for two.
If this is a separate broadcast for the presenter’s channel, test the equipment they normally use to stream. If the camera must connect to the studio’s own system, ask the technical team which connection and video settings are required.
Limited space · A wide view and a screen facing you. Fit two people into the picture without moving the camera back.
Canon EOS R50 V with the RF-S 14–30mm lens
The Canon EOS R50 V with the RF-S 14–30mm F4–6.3 IS STM PZ lens is one option for these types of filming. According to Canon, the camera has a screen that can turn towards the presenter and autofocus that tracks subjects. The included lens has optical image stabilisation to help reduce camera shake when filming handheld.
The lens also has a powered zoom. This lets you adjust how much of the scene is visible using a zoom control, which can be useful when a second person joins an interview. You can replace the lens if you later need a different angle of view or a wider maximum aperture for low light.
The camera and lens are only part of the equipment needed for a broadcast. Evening filming may require an additional light. Street interviews may require external microphones and wind protection. Check how the camera connects to the computer or other device you will use for streaming, and which cables and power supply are needed. These requirements depend on your chosen method of broadcasting.
- Vari-angle screen
- Check the picture while standing in front of the camera.
- Tracking autofocus
- Help keep a moving presenter in focus.
- Optical lens stabilisation
- Reduce small camera shakes when filming handheld.
- Powered zoom
- Adjust the view when another person joins the conversation.
Check the equipment for your usual filming conditions
Choose according to the type of broadcast you make most often. For evening conversations, check image quality in low light and the lens you plan to use. For walking broadcasts, check autofocus, camera movement and sound. For interviews in small spaces, check whether the lens can fit everyone into the picture.
Before the next broadcast, try the changes you expect to encounter. Film someone moving, switch between a nearby person and a distant subject, and add a second person to the picture. Check the recording for focus, brightness and clear speech. This will help you find which parts of the equipment need adjustment and which additional accessories would be useful.
Sources
Checked: 2026-10-21
Advertising article. A commercial link leads to the named seller; a commission is possible only if a referral agreement covers it. The seller handles the offer.