Find the failure before cutting anything
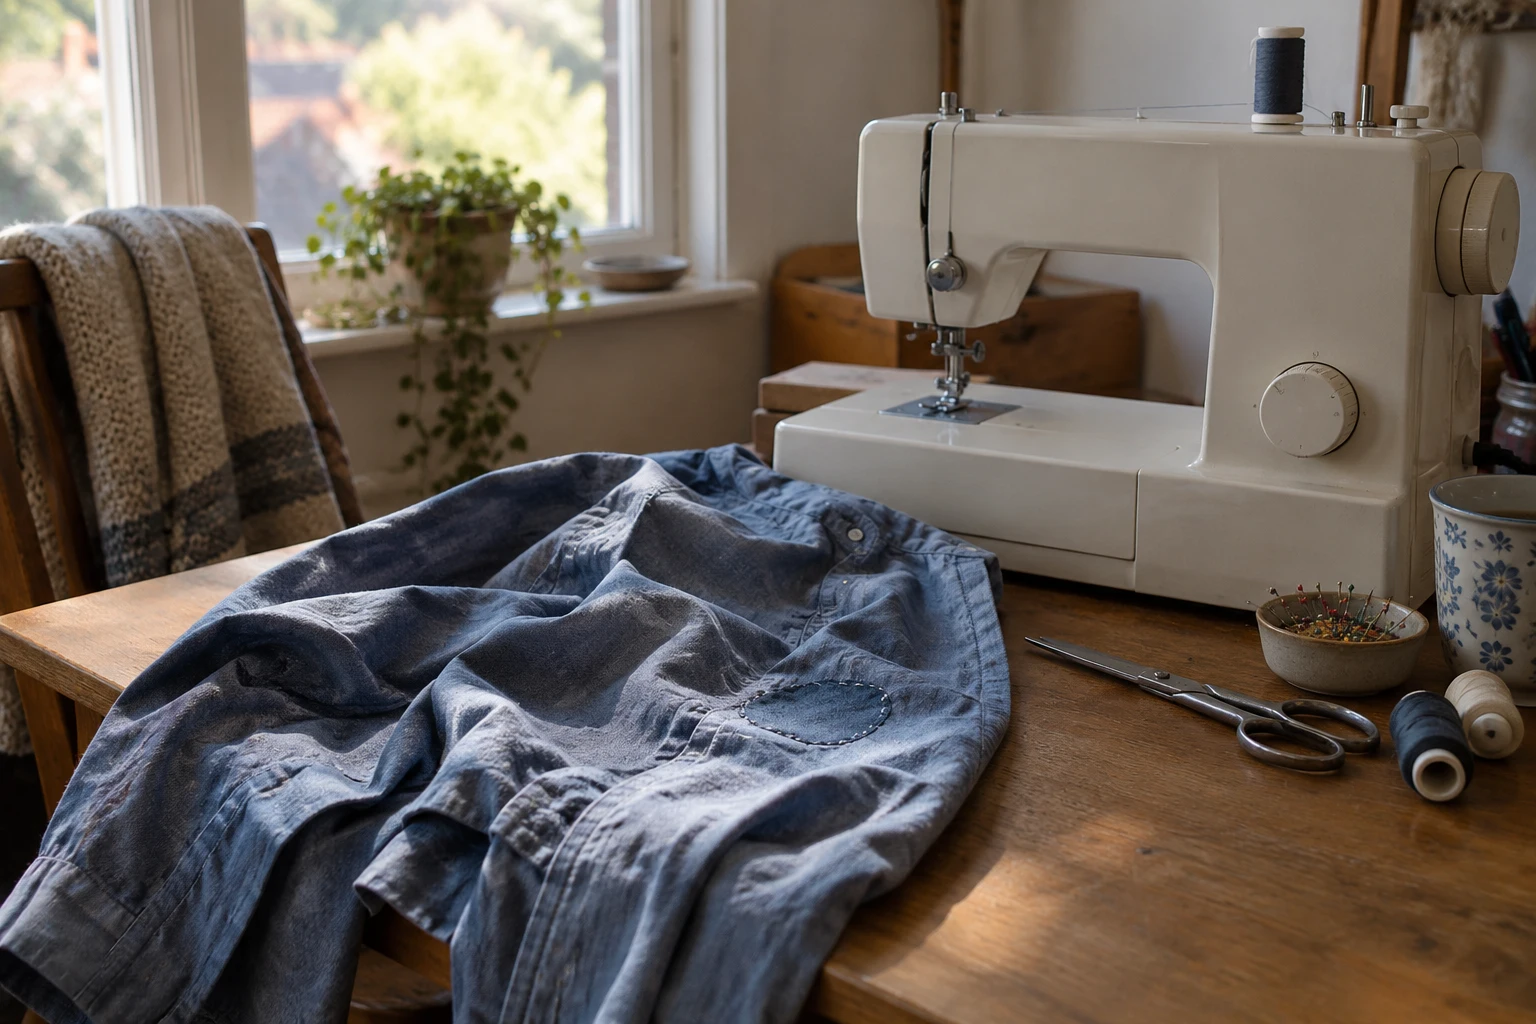
A side seam opens while the rest of the shirt still fits. It is tempting to run a new line of stitching straight over the gap. First turn the garment inside out. Has the thread broken, or has the fabric itself worn thin? A sound seam can be resewn; fragile cloth may need reinforcement or a different repair.
That distinction saves a disappointing afternoon. A machine joins material. It does not restore fibres that have disappeared, and a dense line of stitches can make weak fabric tear beside the repair.
Make the first job a small one
Choose a plain woven item with accessible seams for your first attempt. A favourite stretch top, waterproof jacket or heavily layered denim hem introduces questions about needles, thread, coatings and feeding that can wait. Unpick only what you need, keeping the original construction as a guide.
Photograph the seam before opening it. Keep any loose button or facing together with the garment. These small acts are easy to overlook when enthusiasm is high, but they preserve the information you will need halfway through the job.
Learn the ordinary controls
Straight stitching, reverse stitching and careful control of speed matter more for a basic repair than a large menu of decorative patterns. You also need to thread the machine, wind and fit the bobbin, change a needle safely and understand how the fabric passes under the foot.
Use the manual for the exact model. Similar-looking machines can have different threading paths. If the stitch loops or the thread breaks, stop and check the setup before changing every adjustment.
A needle installed incorrectly will not be fixed by increasing tension at random.
Rehearse on something expendable
Find a scrap with similar thickness and weave. Use the needle and thread appropriate to that fabric, then practise starting, guiding and finishing a short seam. Let the feed mechanism move the material rather than pulling it through. Check both sides of the stitching before touching the garment.
Press and align the repair so the seam allowance lies where you expect. Keep pins away from the moving needle and follow the machine’s safety instructions. Work in short sections where visibility is limited. A careful pause costs less time than removing a crooked line.
Why consider the Brother LX17
Brother positions the LX17 among its beginner domestic sewing machines and provides model-specific support and manuals. That makes it a relevant starting point for someone learning routine garment repairs. The purchase still needs a fabric-based conversation: ask about the layers you expect to sew, compatible needles and accessories.
Check the local retailer’s package and support arrangements. A machine body, a useful manual and access to the right consumables form a more realistic budget than the headline price alone. Do not assume that a domestic beginner model is intended for every heavy or technical material.
Keep the repaired shirt in use
Try the garment on before trimming anything irreversibly. Look at the seam from the outside and check that it moves comfortably. A successful repair should let you forget about the gap when you wear it.
For an occasional loose button, hand sewing may remain the simpler choice. A machine becomes worthwhile when repeated seams and small alterations are work you genuinely want to learn. Start with one wearable result; the next project will tell you more about the features you need.
Questions readers ask
Can I start with stretch fabric?
It needs suitable needles and stitches. A straightforward woven scrap is a simpler first practice piece.
Is this an industrial machine?
No. The LX17 is a domestic machine; consult Brother’s guidance for intended use.
Should I pull thick fabric through?
No. Follow the feeding instructions and stop if the machine struggles.
Sources
Checked: 2026-10-16
Advertising article. A commercial link leads to the named seller; a commission is possible only if a referral agreement covers it. The seller handles the offer.